Introduction
The purpose of this article is to teach users how to use Adobe Sign.
Table of Contents
- How to Login to Adobe Sign
- How to Create and Send a Document
- How to Use Fill & Sign
- How to Replace a Recipient After a Document is Sent
How to Login to Adobe Sign
-
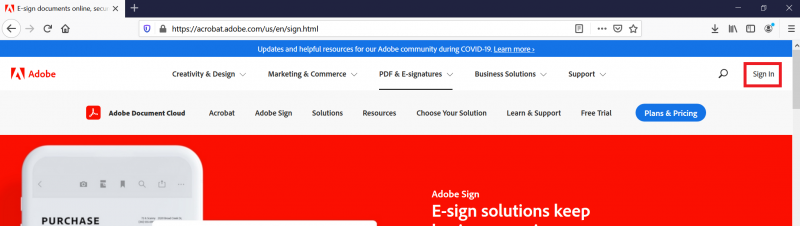
Go to https://acrobat.adobe.com/us/en/sign.html and click on “Sign In”
-
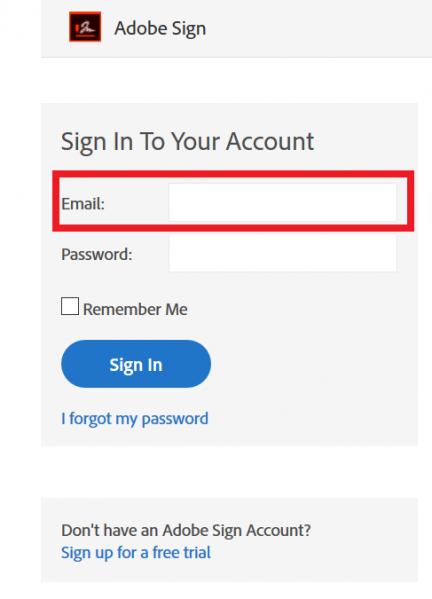
Input your CSUN email address
-
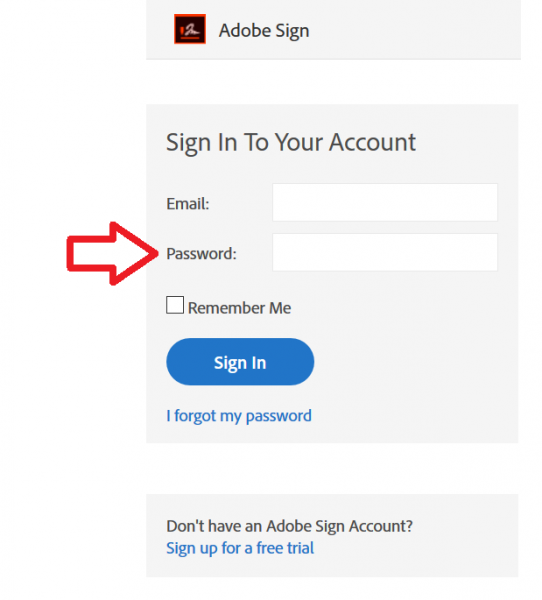
After you input your CSUN email address, click on the password field
-
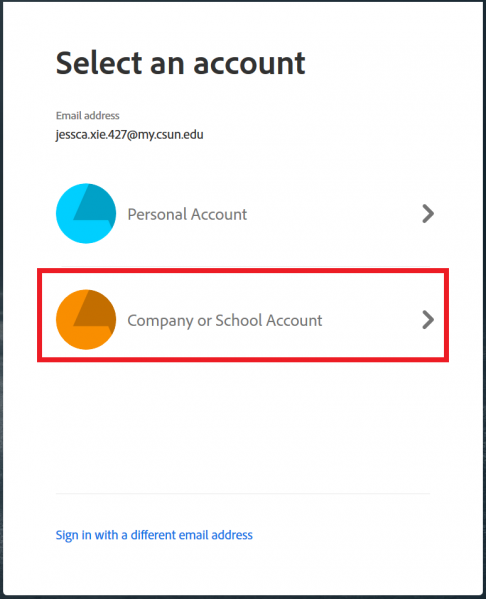
You will be taken to another screen that will ask you to select an account. Select “Company or School Account”
-
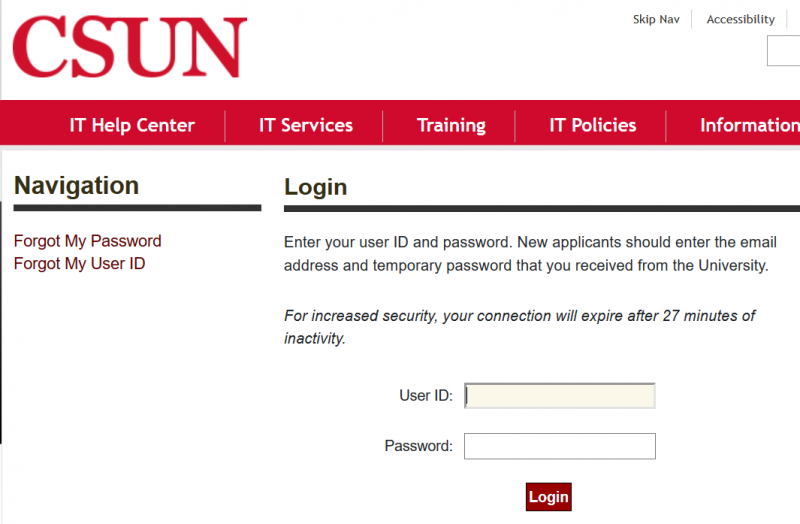
You will be taken to the CSUN login page. Input your CSUN Credentials to login to Adobe Sign
-
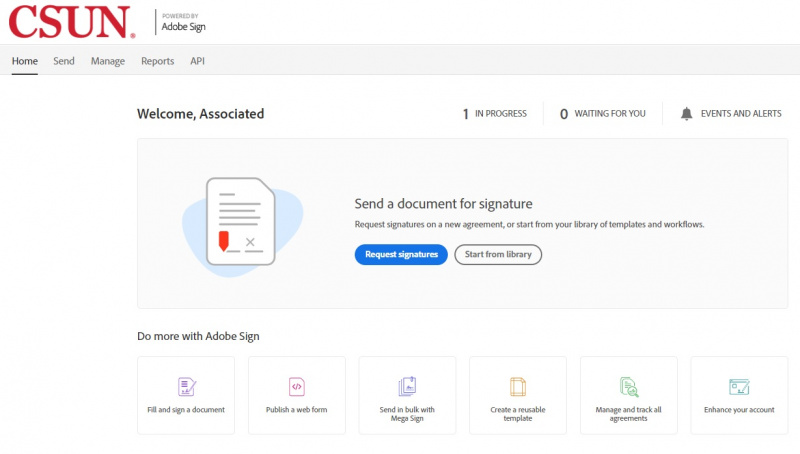
You are now logged in to Adobe Sign.
 -JX
-JX
How to Create and Send a Document
-
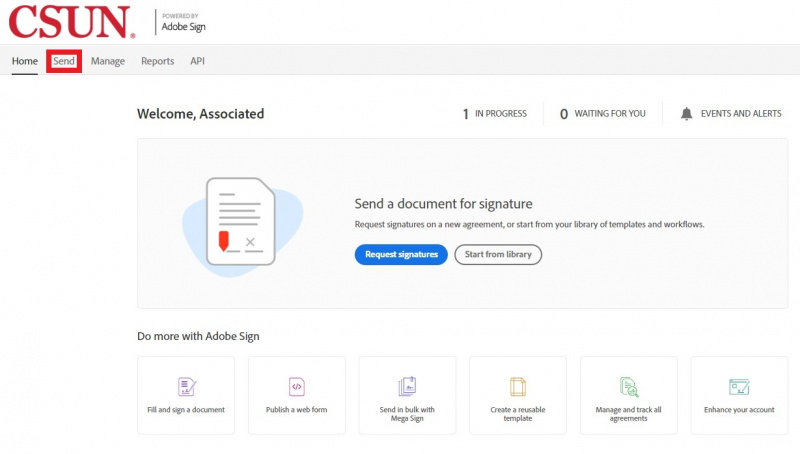
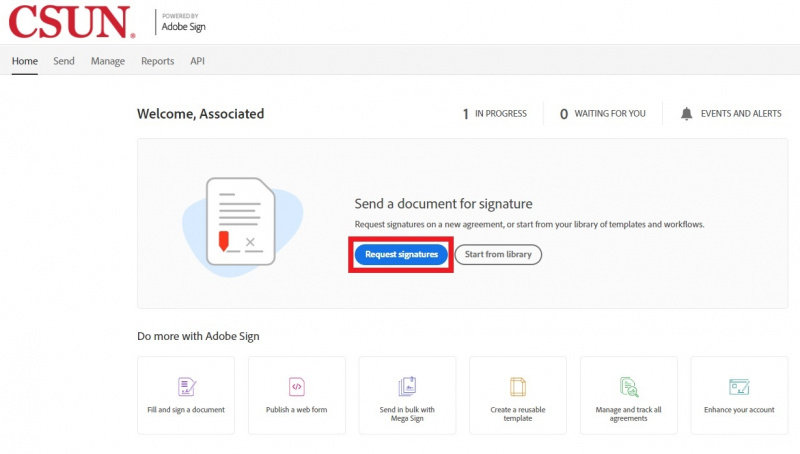
Click “Send” at the top of the page or click on “Request Signatures”
-
You will be taken to this page to begin creating your document
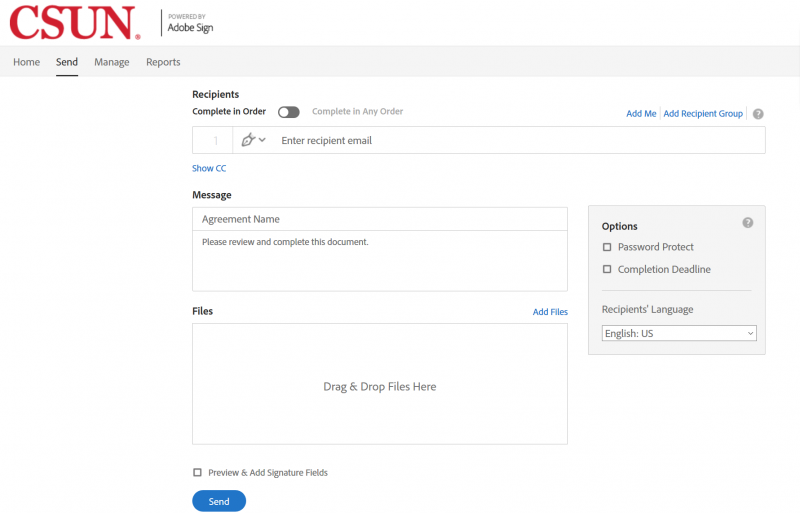
-
Input the recipient you want to send the document to. NOTE: You can’t send a document to yourself to sign
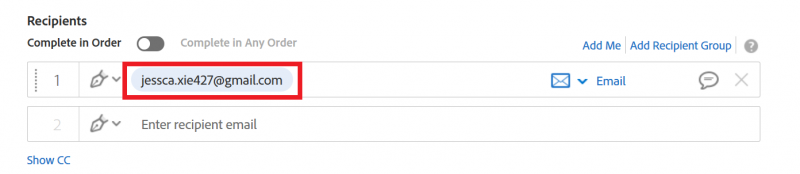
-
Name the document. The document should be “ASI-[Department Name]-[Name of document]”
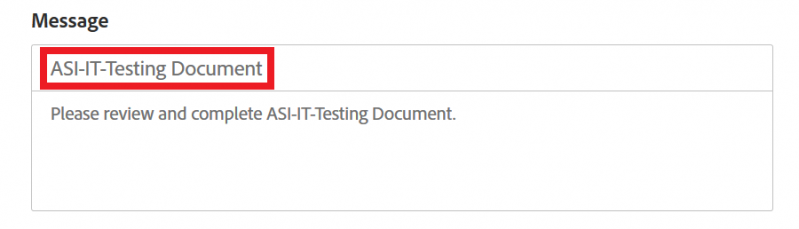
-
Add the file that needs to be signed. Make sure “Preview and Add Signature Fields” is checked off. This will allow you to add signature fields in the next section
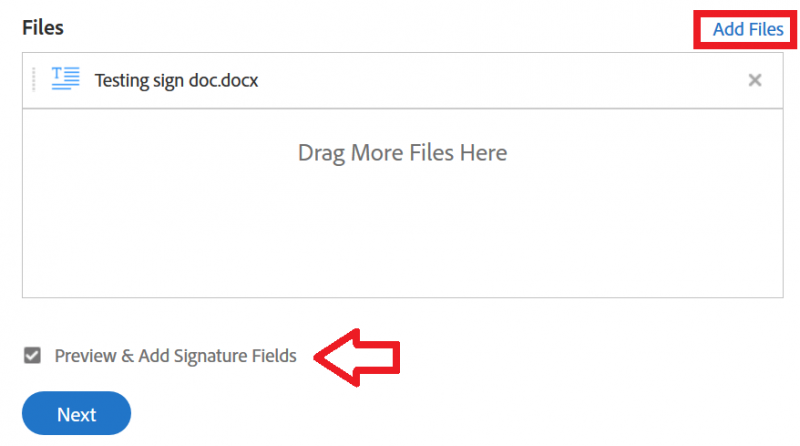
-
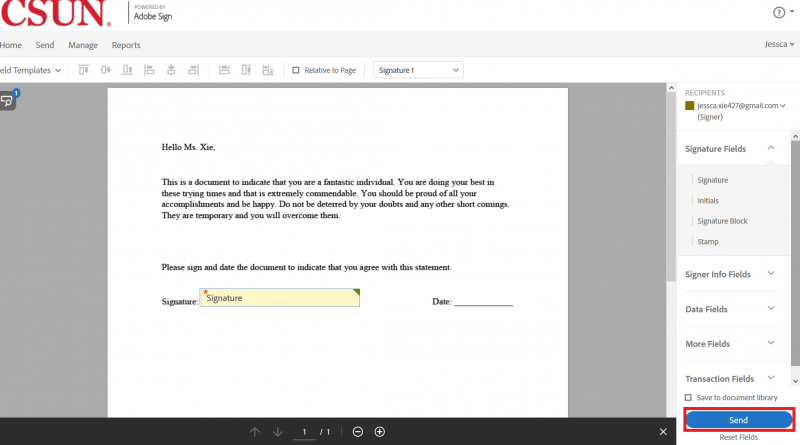
Once the document is processed, you will be redirected to this page to preview and add Signature Fields
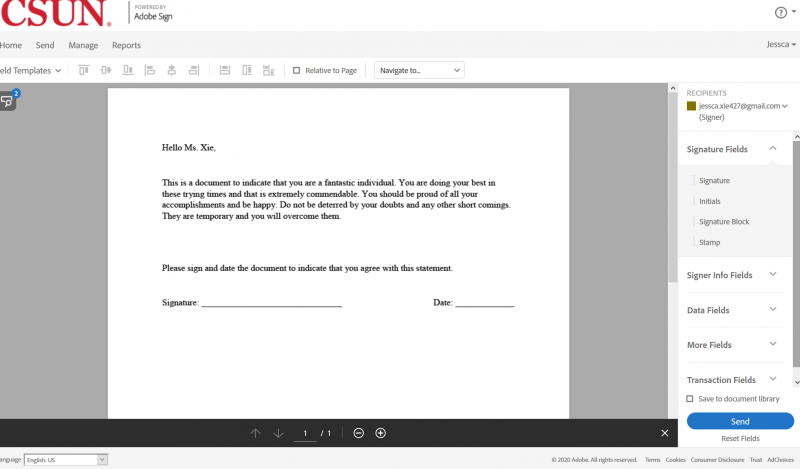
-
To add a signature field, click “Signature” and drag it into the document
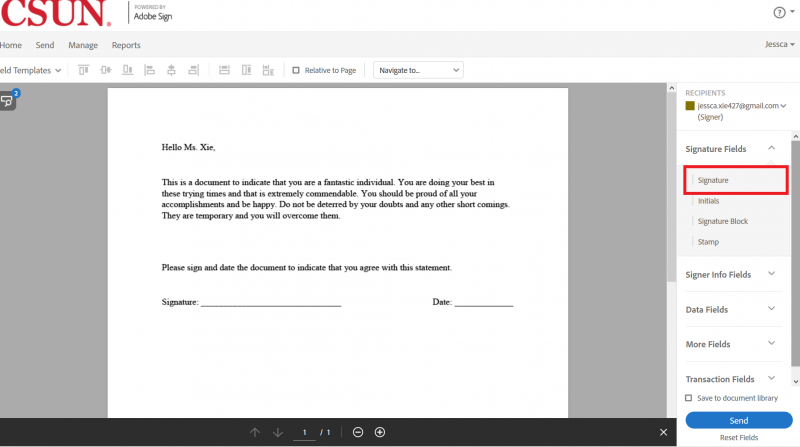
-
The document should look like this with the Signature Field
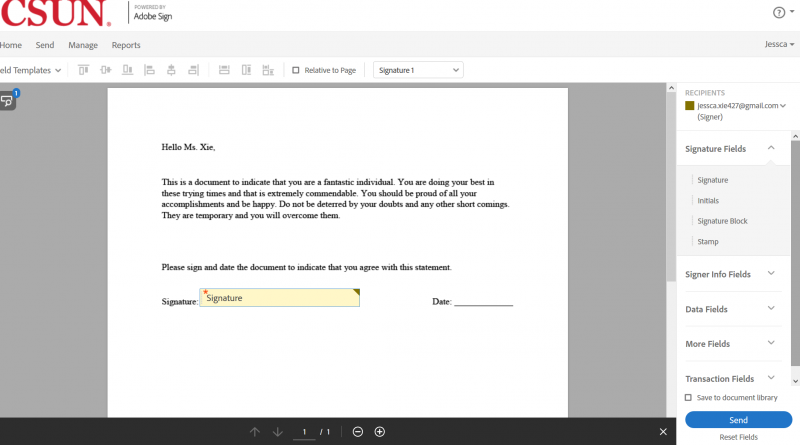
-
Click on the Signature Field to double check that the field is assigned to the correct individual
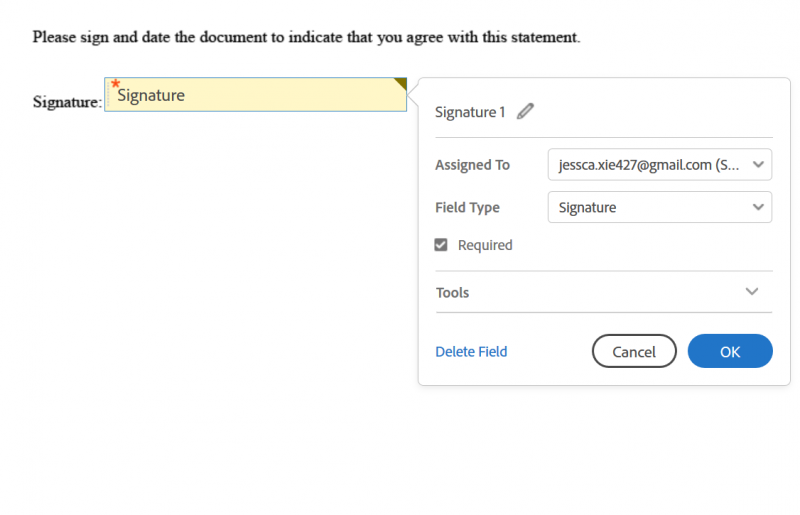
-
Click “Send” to send the document. NOTE: Once the document is sent, it can’t be changed
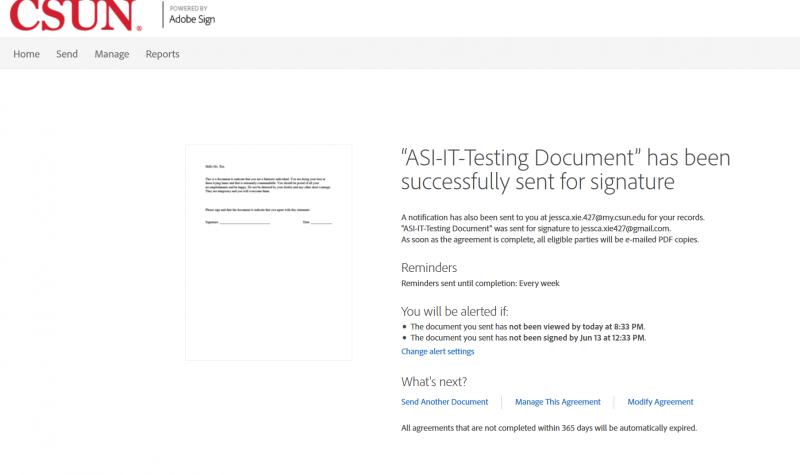
- You will be redirected to this page to indicate that the document has been successfully created and sent
 -JX
-JX
How to Use Fill & Sign
The purpose of this section is to show users how to upload a document or form to sign. The end result will be a PDF document that can be used to send to other users.
-
Click the “Fill and sign a document” icon at the bottom of the page

-
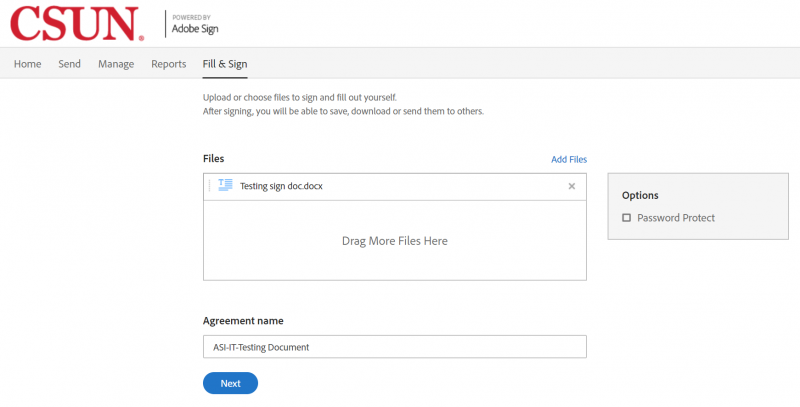
You will be taken to this page to create your document
-
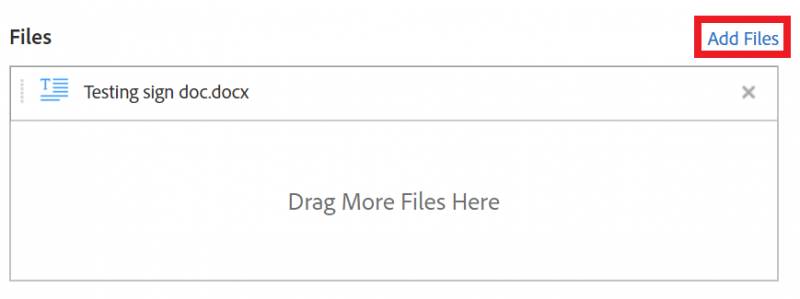
Add the file that needs to be signed
-
Name the agreement. The document should be “ASI-Department Name-Name of document” Click “Next” to process the document

-
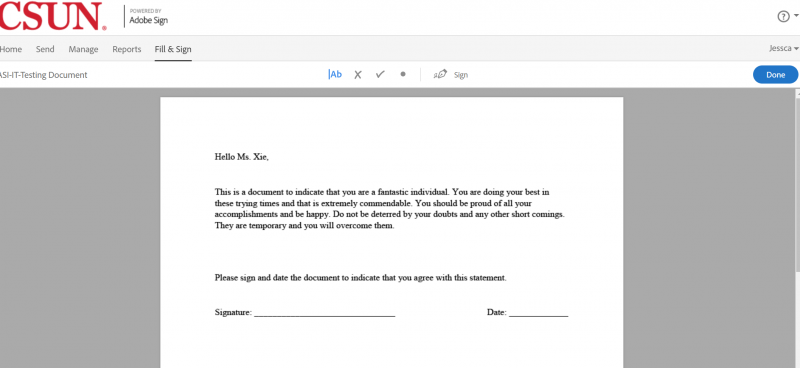
Once the document has been processed, you will be taken to this page
-
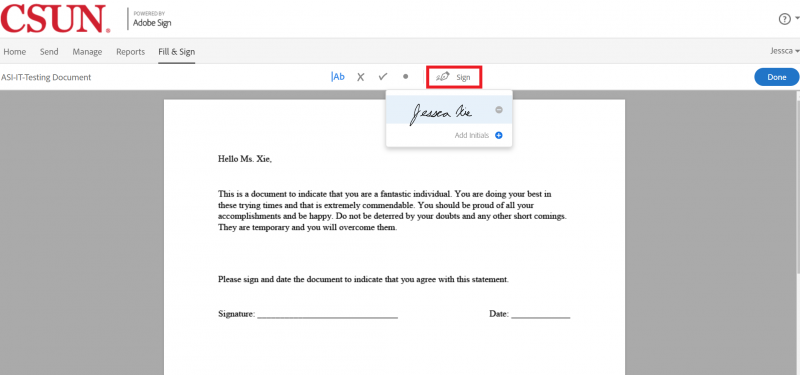
Click “Sign” to select a signature or initial to use for the document
-
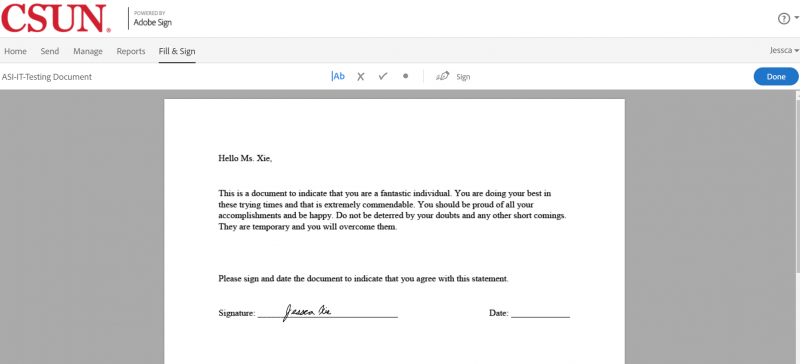
Click on your signature and drag it into the document. Move the signature to where the document needs to be signed
-
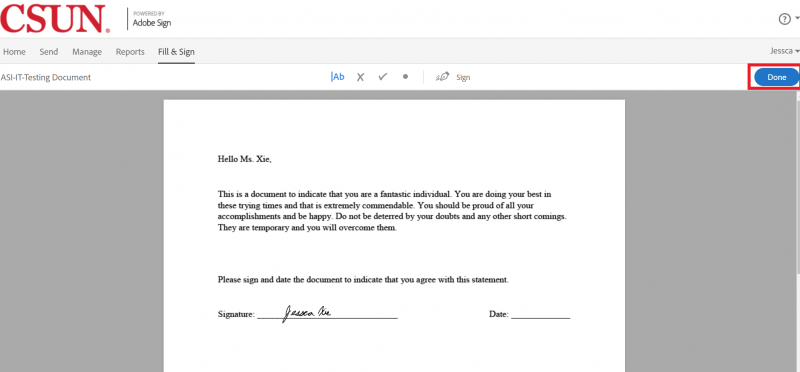
Click “Done” to complete the document. NOTE: Once the document is completed, it can’t be changed
-
Once the document is processed, you will be redirected to this page to indicate that the document has been successfully created and signed.
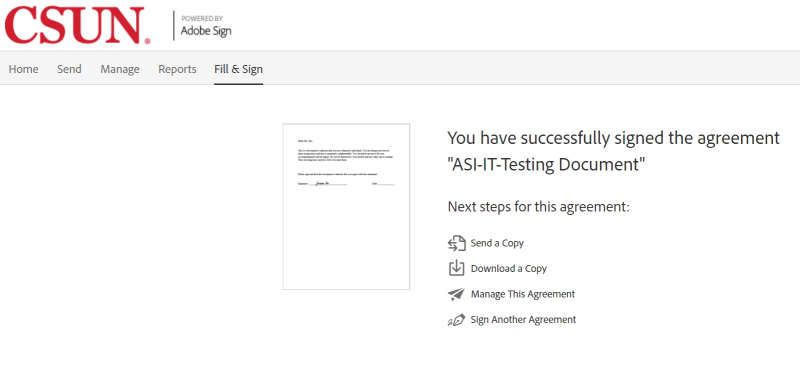
-
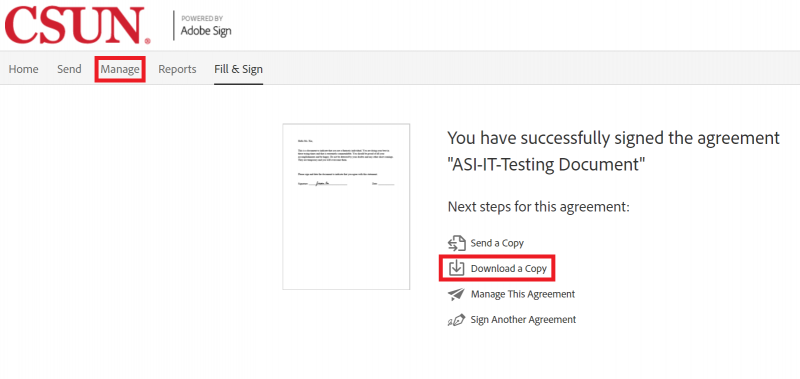
To access the completed document, it can be downloaded from this page. Another alternative is to find the document in the “Manage Tab” at the top of the screen.
 -JX
-JX
How to Replace a Recipient After a Document is Sent
-
Login to Adobe Sign. Please refer to the instructions found here.
-
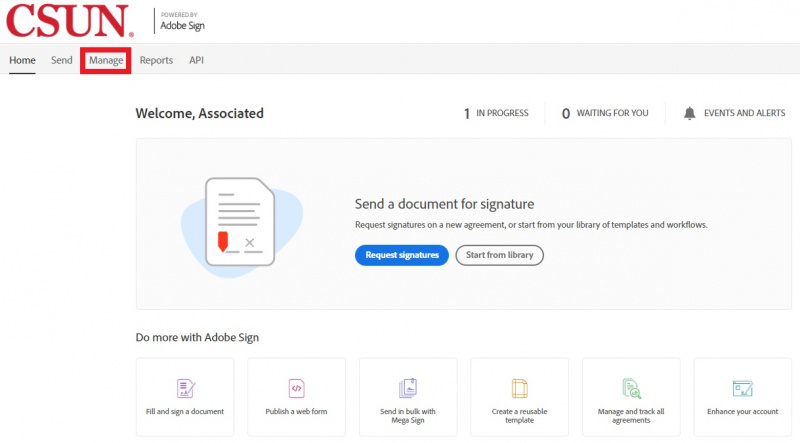
Click on the “Manage” tab.
-
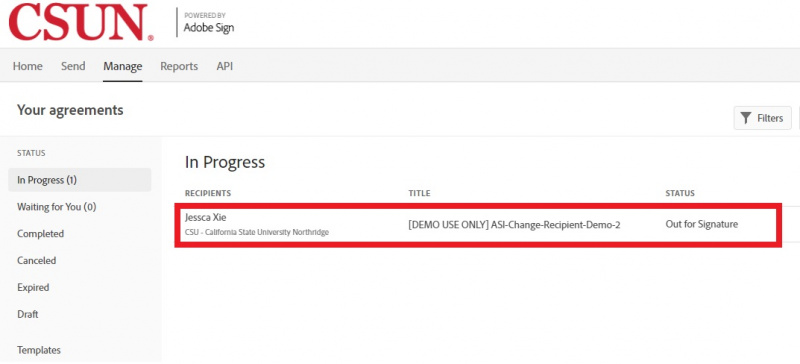
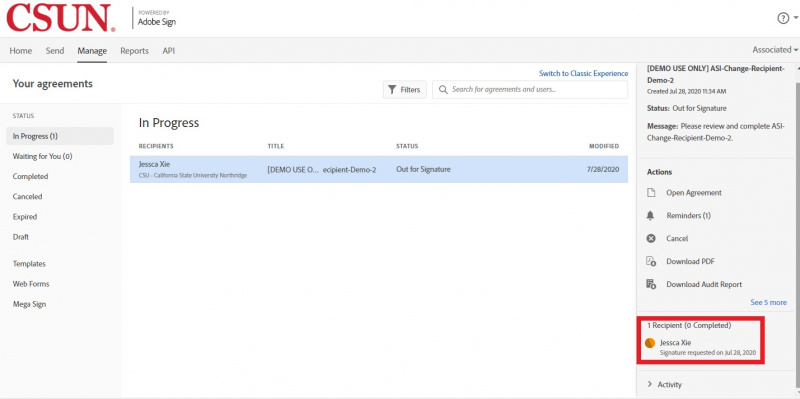
In the “In Progress” section, look for the document that needs to be changed and click on the document
-
When you click on the document, a menu on the side will pop up. At the bottom, hover over the signer’s name and email address
-
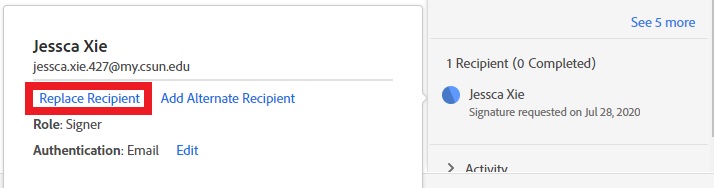
A small window will appear next to the recipient’s name. Click on “Replace Recipient”
-
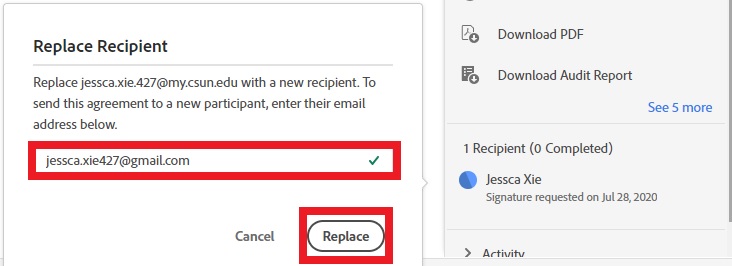
Insert the email address of the new recipient and then click “Replace.” NOTE: You cannot replace the recipient with someone who was a recipient of the document in the past
-
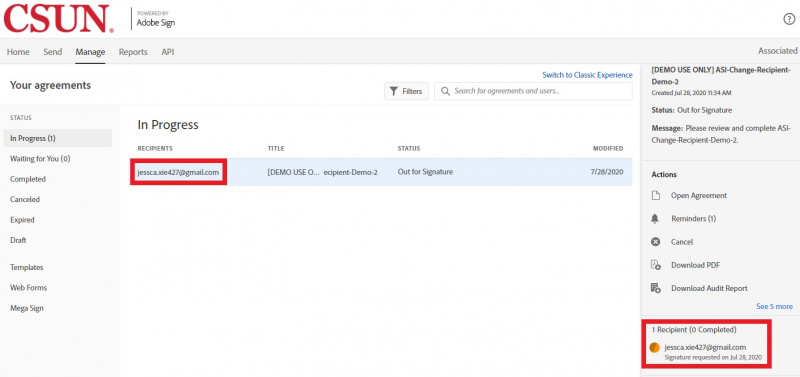
Once you click “Replace,” the recipient will be changed
 -JX
-JX